


On this page
The best northern lights photography tips are simple: keep the camera completely still, let in as much light as possible, focus on infinity and keep your batteries warm. With a modern phone, that means night mode on a steady surface; with a camera, it means a tripod, manual mode, a wide aperture, a raised ISO and an exposure of several seconds.
Most guides stop there. This one is written for a guided tour in Rovaniemi, where you share the dark with a small group, stand still in the cold and never know how long the sky will stay bright. Here is how to be ready when it does.
Northern lights photography tips before you leave the hotel
The worst time to learn your camera’s menus is in the cold and dark with the aurora dancing overhead. Spend ten minutes at your hotel first:
- Charge everything and pack a spare battery or power bank for the evening.
- Find the settings: night mode or “pro” mode on your phone; manual mode, ISO, aperture, shutter speed and manual focus on your camera.
- Set focus to infinity in daylight on a distant object, then tape the focus ring if your lens lets it drift.
- Switch off the flash and turn screen brightness down.
- Shoot RAW if your camera or phone allows it; it gives much more room when editing.
- Clear the memory card so you are not deleting photos in the cold.
Pack liner gloves thin enough to press buttons. Our guide on what to wear on a northern lights tour covers the rest of your clothing.
Aurora photography with a phone
Recent phones can take very pleasing aurora photos if you give them a steady base and a little time. To get them:
- Use night mode and choose the longest exposure it offers; on some phones the longer options only appear when the phone is resting completely still.
- Keep it still. A small phone tripod is ideal. Otherwise, lean the phone against a backpack, a fence post or a snowbank.
- Use a timer of 3 seconds so tapping the shutter does not shake the image.
- Tap to focus on something distant or a bright star, and lock focus if your phone allows it.
- Lower the exposure slider slightly if the green looks washed out or the snow glows white.
- Turn the flash off. It will not reach the sky, only the snow in front of you.
Keep the phone in an inside pocket between shots so it stays warm and ready for the next burst of colour.

Northern Lights Evening at the Aurora Cabin – photograph the aurora above a dark forest cabin with no light pollution, then warm your fingers and batteries by the fire. From 109 € · hotel pickup included.
Northern lights camera settings to start with
There is no single perfect setting because every aurora is different. Rather than fixed numbers, use this table as a direction of travel: take a test shot, look at the screen, and adjust in the direction shown.
| What you see on screen | ISO | Aperture | Shutter speed |
|---|---|---|---|
| Photo too dark, aurora faint | Raise it | Keep it at the widest | Lengthen it |
| Aurora looks smeared or blurred | Raise it a little | Widest | Shorten it |
| Sky and snow look washed out | Lower it | Widest | Shorten it |
| Photo grainy and noisy | Lower it | Widest | Lengthen it a little |
- Focus: manual, set to infinity, then check by zooming into a bright star on the screen.
- White balance: set it manually rather than leaving it on auto, so colours stay consistent between frames.
- Lens: a wide-angle lens lets you fit the sky and some foreground in one frame.
- Stabilisation: switch it off when the camera is on a tripod.
- Timer or remote: a short timer stops the press of the button shaking the shot.
When the sky starts moving quickly, try a shorter shutter speed and compare the results on your screen.
Composition: make it a Lapland photo, not just a green sky
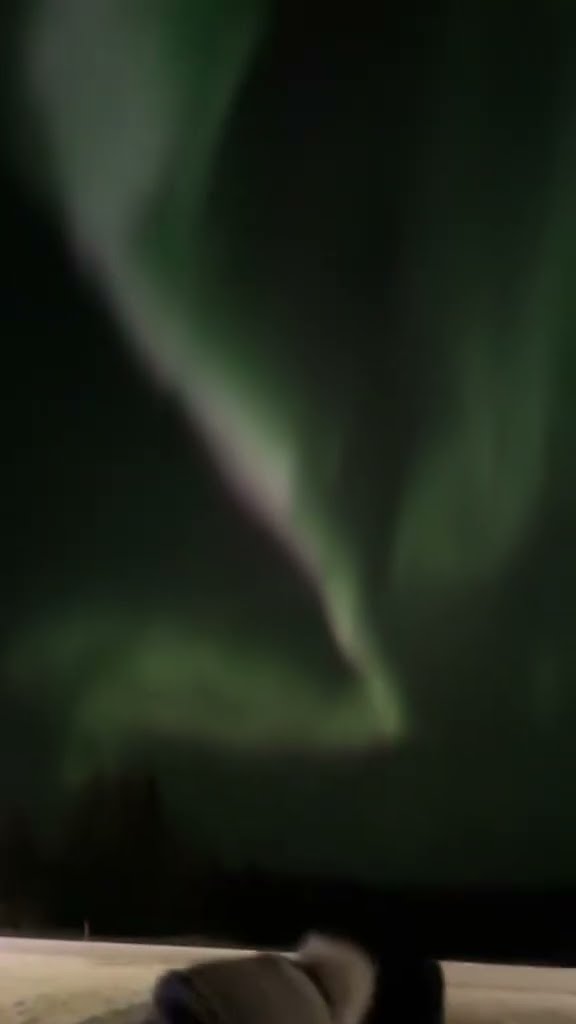
The photos guests treasure most include something on the ground. Around Rovaniemi, the foreground is easy to find:
- Snow-laden spruce and pine silhouetted against the sky.
- A cabin in the forest, which gives the sky a sense of place and scale.
- People standing still for the length of the exposure. Ask your group to freeze for five seconds and you get a memorable shot.
- Snowmobiles or Electric Reindeer during a stop on an aurora safari.
Keep the horizon low in the frame when the aurora is overhead, and turn around now and then: the strongest part of a display is not always where it started.

Photographing in the cold: batteries, fingers and condensation
Lapland nights are hard on equipment. A few habits save your evening:
- Rotate batteries: keep a spare in an inside pocket and swap when the first one drops, then let the cold one warm up against your body.
- Avoid breathing on the lens or screen, so you do not have to wipe them in the dark.
- Think about moisture: before taking a cold camera into a warm cabin or vehicle, put it in a zipped bag or your camera bag and let it warm up slowly.
- Protect your fingers: liner gloves under mittens, and hand warmers in your pocket. Avoid touching a cold metal tripod with bare skin.
- Tripod legs: extend them before you go out, as clips can be stiff in the frost.
Etiquette on a guided aurora tour
On a small-group tour, everyone is trying to get the same photograph. A few courtesies keep the evening good for all:
- Use red light only and point your head torch down. A white torch ruins everyone’s long exposure and night vision.
- Screens on low. A bright phone screen in someone’s frame shows up as a glowing blob.
- Watch where you walk, so you do not leave footprints across the clean snow in other people’s foreground.
- Listen to your guide when they choose a spot or call the group together; we monitor the forecasts and take you far from light pollution to improve the odds.
- Put the camera down sometimes. A few minutes of simply watching the sky is worth as much as any photo.
On the Northern Lights Tour with Snacks, you are picked up from your accommodation and driven into the wilderness away from city lights, and the guide chooses viewing spots based on the current weather and aurora forecasts.
Northern Lights Tour with Snacks – a small-group aurora hunt to the night’s best dark viewing spots, chosen by forecast, with warm drinks and snacks. From 109 € · hotel pickup included.
When and where you have the best chance
The aurora appears when charged particles from the sun hit the upper atmosphere; the science of the aurora is well explained on Wikipedia. For a photographer, the practical requirements are a clear sky, real darkness and patience.
The northern lights can never be guaranteed. Nature decides. What we do is monitor forecasts and take you far from light pollution to improve the odds, with warm drinks and snacks while you wait. Read more about timing in our guide to the best time to see the northern lights in Rovaniemi, and see every evening option on our northern lights tours page. Riders can combine photography with a night ride on our snowmobile safaris to the Aurora Cabin.
Good to know
- Bring: phone or camera, spare battery or power bank, small tripod, liner gloves, red head torch.
- Camera basics: manual mode, widest aperture, focus at infinity, then adjust ISO and shutter speed after a test shot.
- Tour length: our northern lights tours last 3 hours, with hotel pickup within 10 km of Rovaniemi city centre.
- Warm breaks: snacks and warm drinks on every evening; the Aurora Cabin has a fire.
- Clothing rental: 15 € per person at the Aurora Cabin evening if you need it.
- Honest note: the northern lights are never guaranteed; nature decides.
Frequently asked questions
Can I photograph the northern lights with my phone?
Yes. Use night mode with the longest exposure, keep the phone completely still on a tripod or solid surface, and use a timer. Check the first photo and adjust the exposure slider if needed.
What are the best camera settings for the northern lights?
Use manual mode, the widest aperture and focus set to infinity, then take a test shot. Raise the ISO or lengthen the exposure if it is too dark, and shorten the exposure if the aurora is moving fast.
Do I need a tripod on a northern lights tour?
For a camera, yes; exposures of several seconds are very hard to hold steady by hand. For a phone, a small tripod helps a lot, but resting it on a bag or snowbank also works.
Why do my aurora photos look blurry?
Usually focus or movement. Set manual focus to infinity and check on a bright star, use a timer, switch off stabilisation on a tripod and shorten the exposure when the lights move quickly.
How do I stop my camera battery dying in the cold?
Keep a spare in an inside pocket, swap batteries as soon as the level drops and warm the cold one against your body. Turning the screen brightness down also helps.
Will the guide take photos for us?
Plan to take your own photos, so bring your phone or camera and a spare battery. On the Northern Lights Tour with Snacks, the guide chooses viewing spots based on the current weather and aurora forecasts; for anything else about a specific tour, our FAQ page and the tour pages list the details.
Ready for your first aurora shot? Practise your settings, charge your batteries, and join a small group in the dark forest outside Rovaniemi, where the sky has the best chance to show off.